
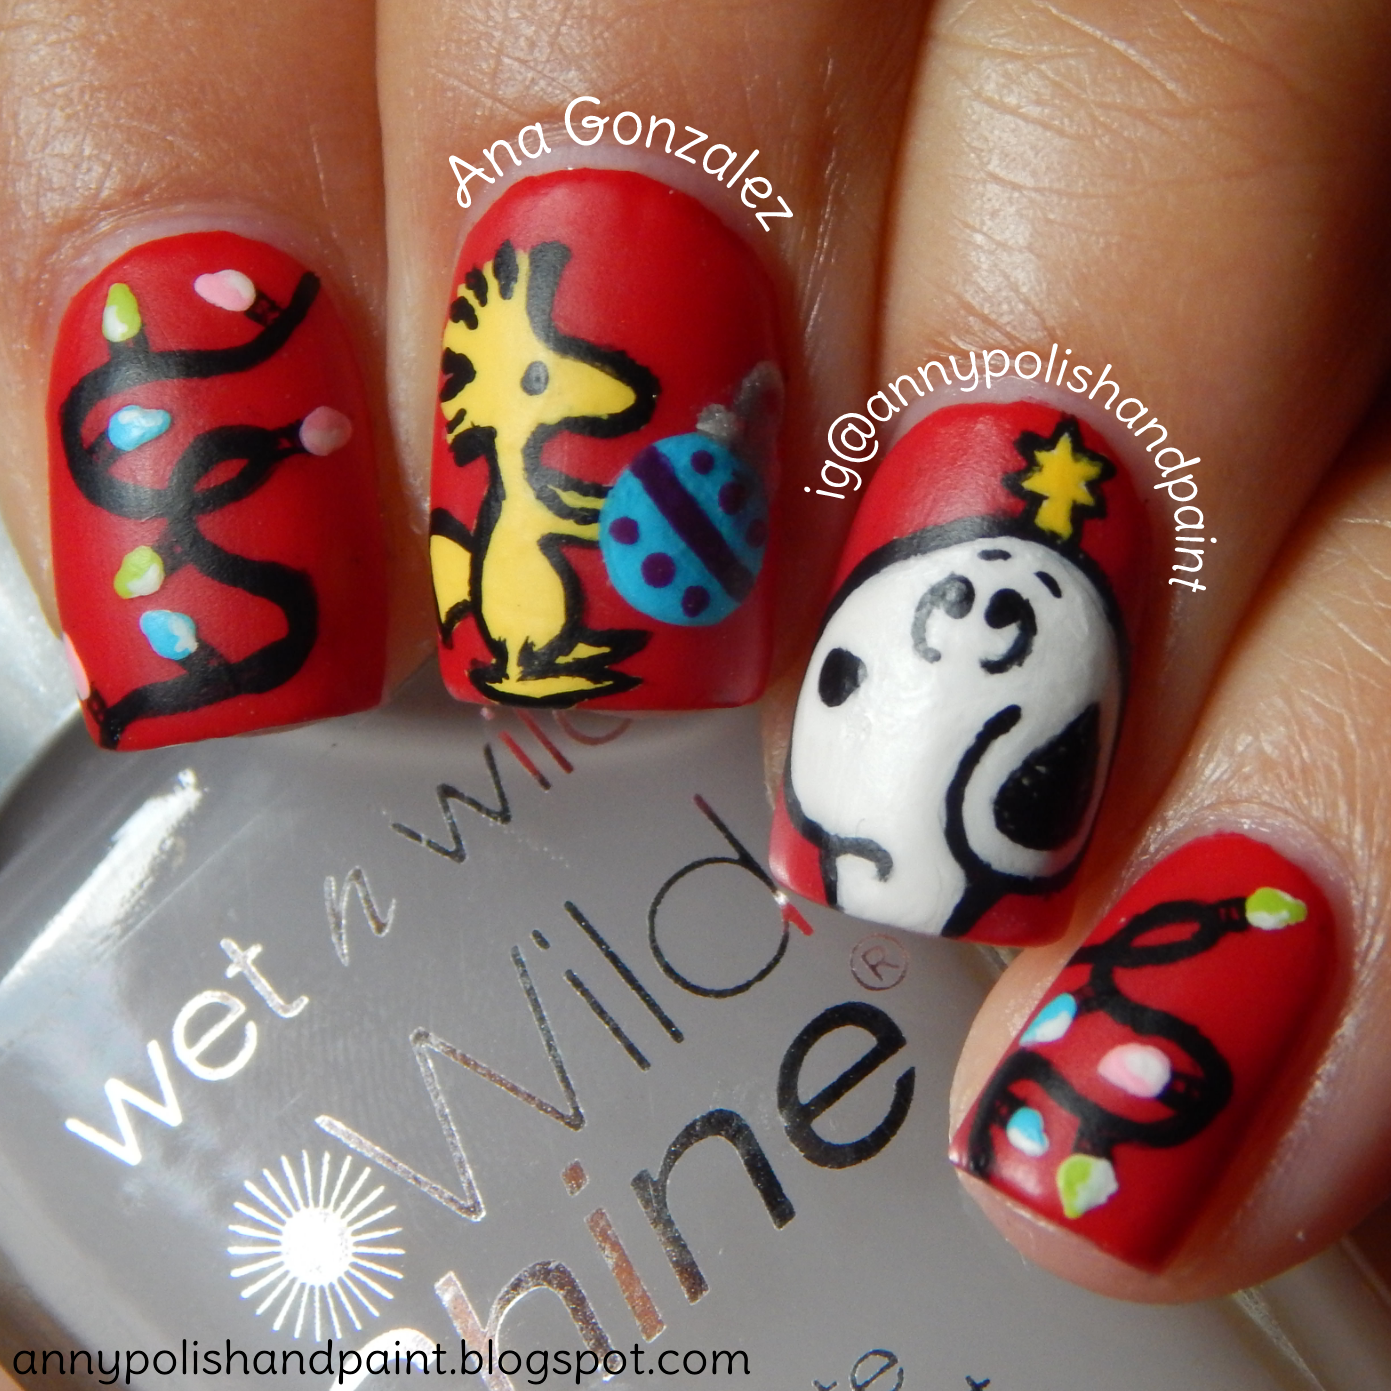
So anyways, I'm so excited for this post because it is the first time I do a mani swap with anyone. Kelly (@devilishdesigns1) was looking for someone to do a mani swap with, so I told her I thought it would be fun and she agreed. So we went ahead and picked out a design from each other, and began. The design of hers that I chose was her Christmas Snoopy design, which she did an amazing job on. I chose that design because I wanted to do a holiday mani. I also decided to challenge myself, that design is a bit more difficult since I had to paint well-known characters. The design did not come out perfect, but it's ok. Kelly chose my Stained Glass mani, which she did a great job on recreating. To get a better look at her Solo Shot, check out her IG page (linked above). She also made the collage for the Mani Swap and it came out great, check it out! Originals are on the right, and the recreations are on the left.
Mani Swap Collage (by Kelly):

Glossy:

Matte:
Glossy:

Matte:

Mani Comparison:


I know that it might be a bit difficult to do the design because it's more intricate, but I tried explaining it as best as I could. I know it'd be better if you could see step-by-step, and I'm sorry I can't show you. But I hope the steps can help those who would like to try out the design for themselves.
Thank you guys for taking the time to read this post, and I hope you have a lovely New Years Eve. Here's to a year full of happiness, love, health, family and new manis. Hehe. Until next time everyone, be safe. Bye.
-❤- Ana
Top Coats Used:
Glossy: Wet N Wild (Wild Shine) "Clear Nail Protector"
Matte: Wet N Wild (Wild Shine) "Matte Top Coat"
Acrylic Paints Used:
Apple Barrel Black
Apple Barrel White
Apple Barrel Pink Parfait
Apple Barrel Lime Tree
Craftsmart Pool Blue
Craftsmart Plum
Folk Art Silver Sterling
No comments:
Post a Comment